
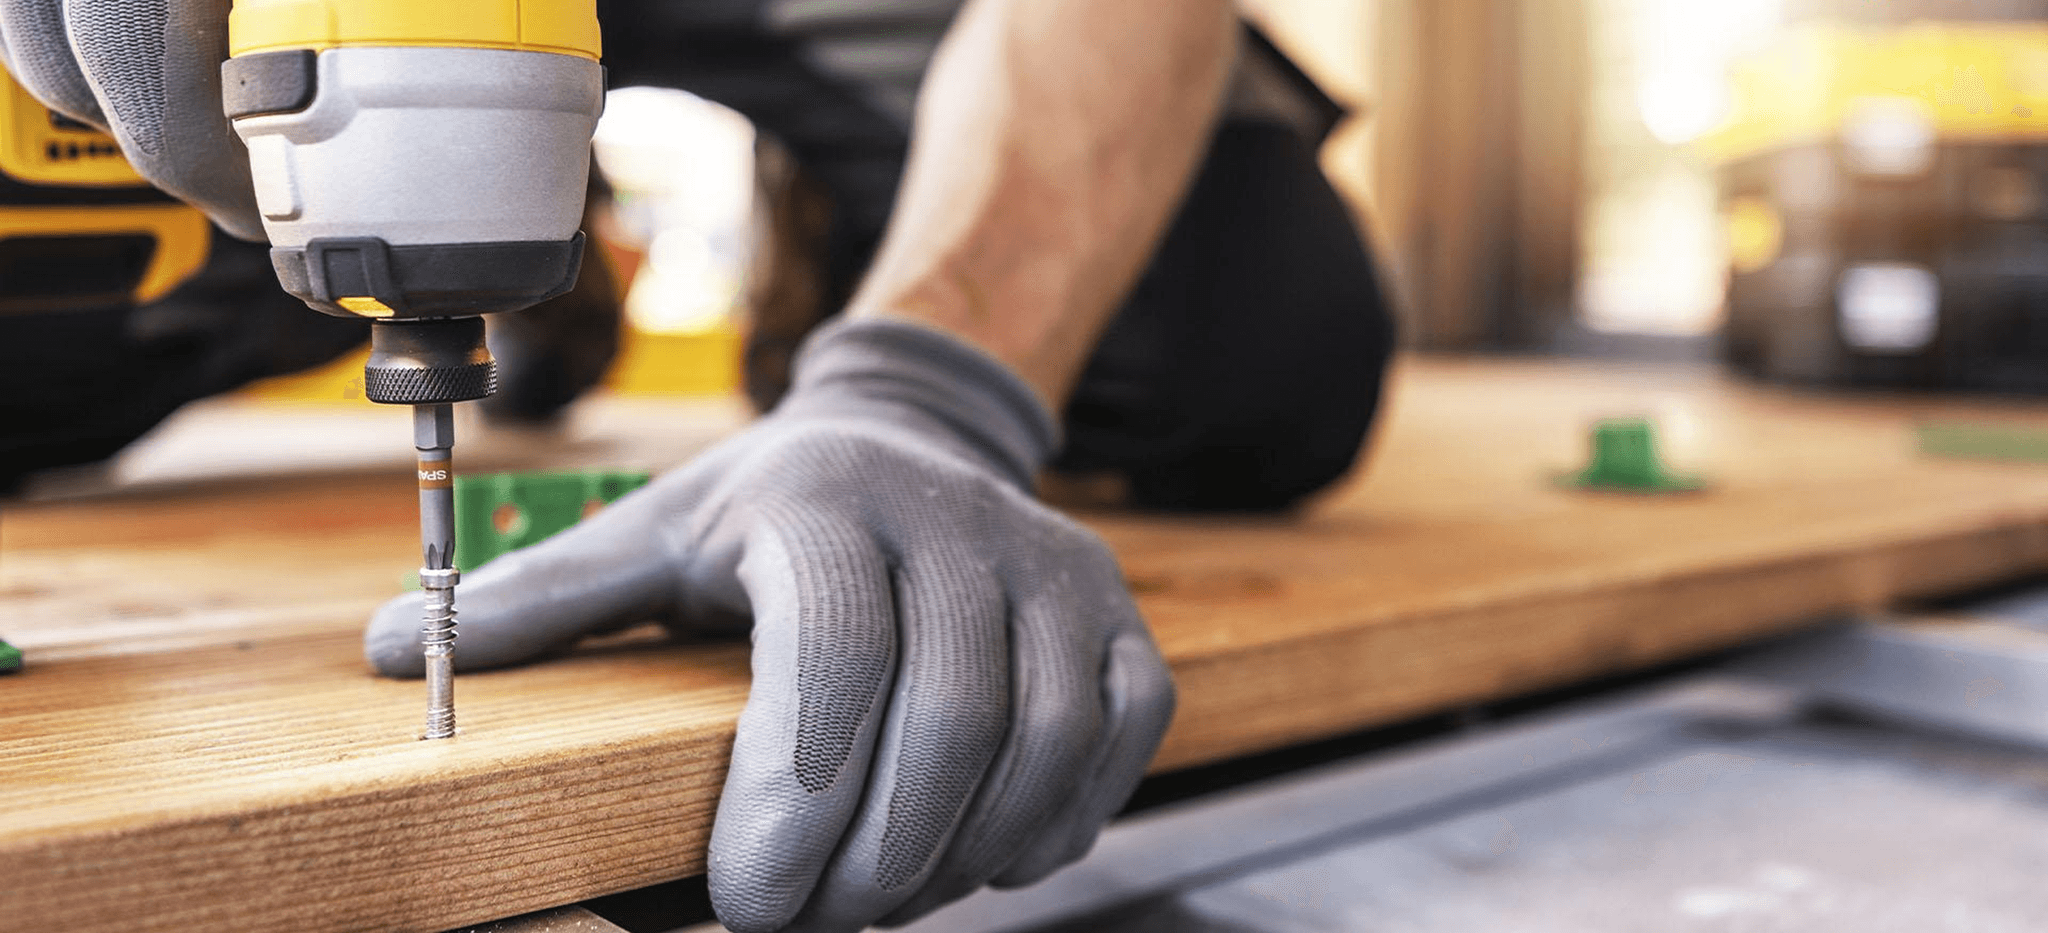

Installation Guides: Getting Every Fastening Right
A reliable fastening starts well before the screw enters the material. Choosing the correct fastener, preparing the surface and using the right tools can make installation easier and improve the quality of the finished joint. Whether you are assembling furniture, carrying out repairs or working on a construction project, a few basic practices can help prevent common mistakes and save time.
Prepare the Surface and Choose the Right Screw
Begin by identifying the material you are working with and selecting a screw designed for that application. Wood, metal and other materials have different fastening requirements, so the screw's length, diameter and thread type should be appropriate for the job. The thickness of the material and the amount of holding strength required should also be considered before installation.
Once you have selected the screw, mark the fixing point carefully and make sure the components are properly aligned. Depending on the screw and the material, drilling a pilot hole may help guide the screw, reduce the risk of splitting wood and make installation more controlled. For metal applications, check whether the fastener is designed to drill its own hole or requires a pre-drilled opening. Taking a moment to prepare the surface can help prevent misalignment and damage.
Use the Right Tools and Apply Controlled Pressure
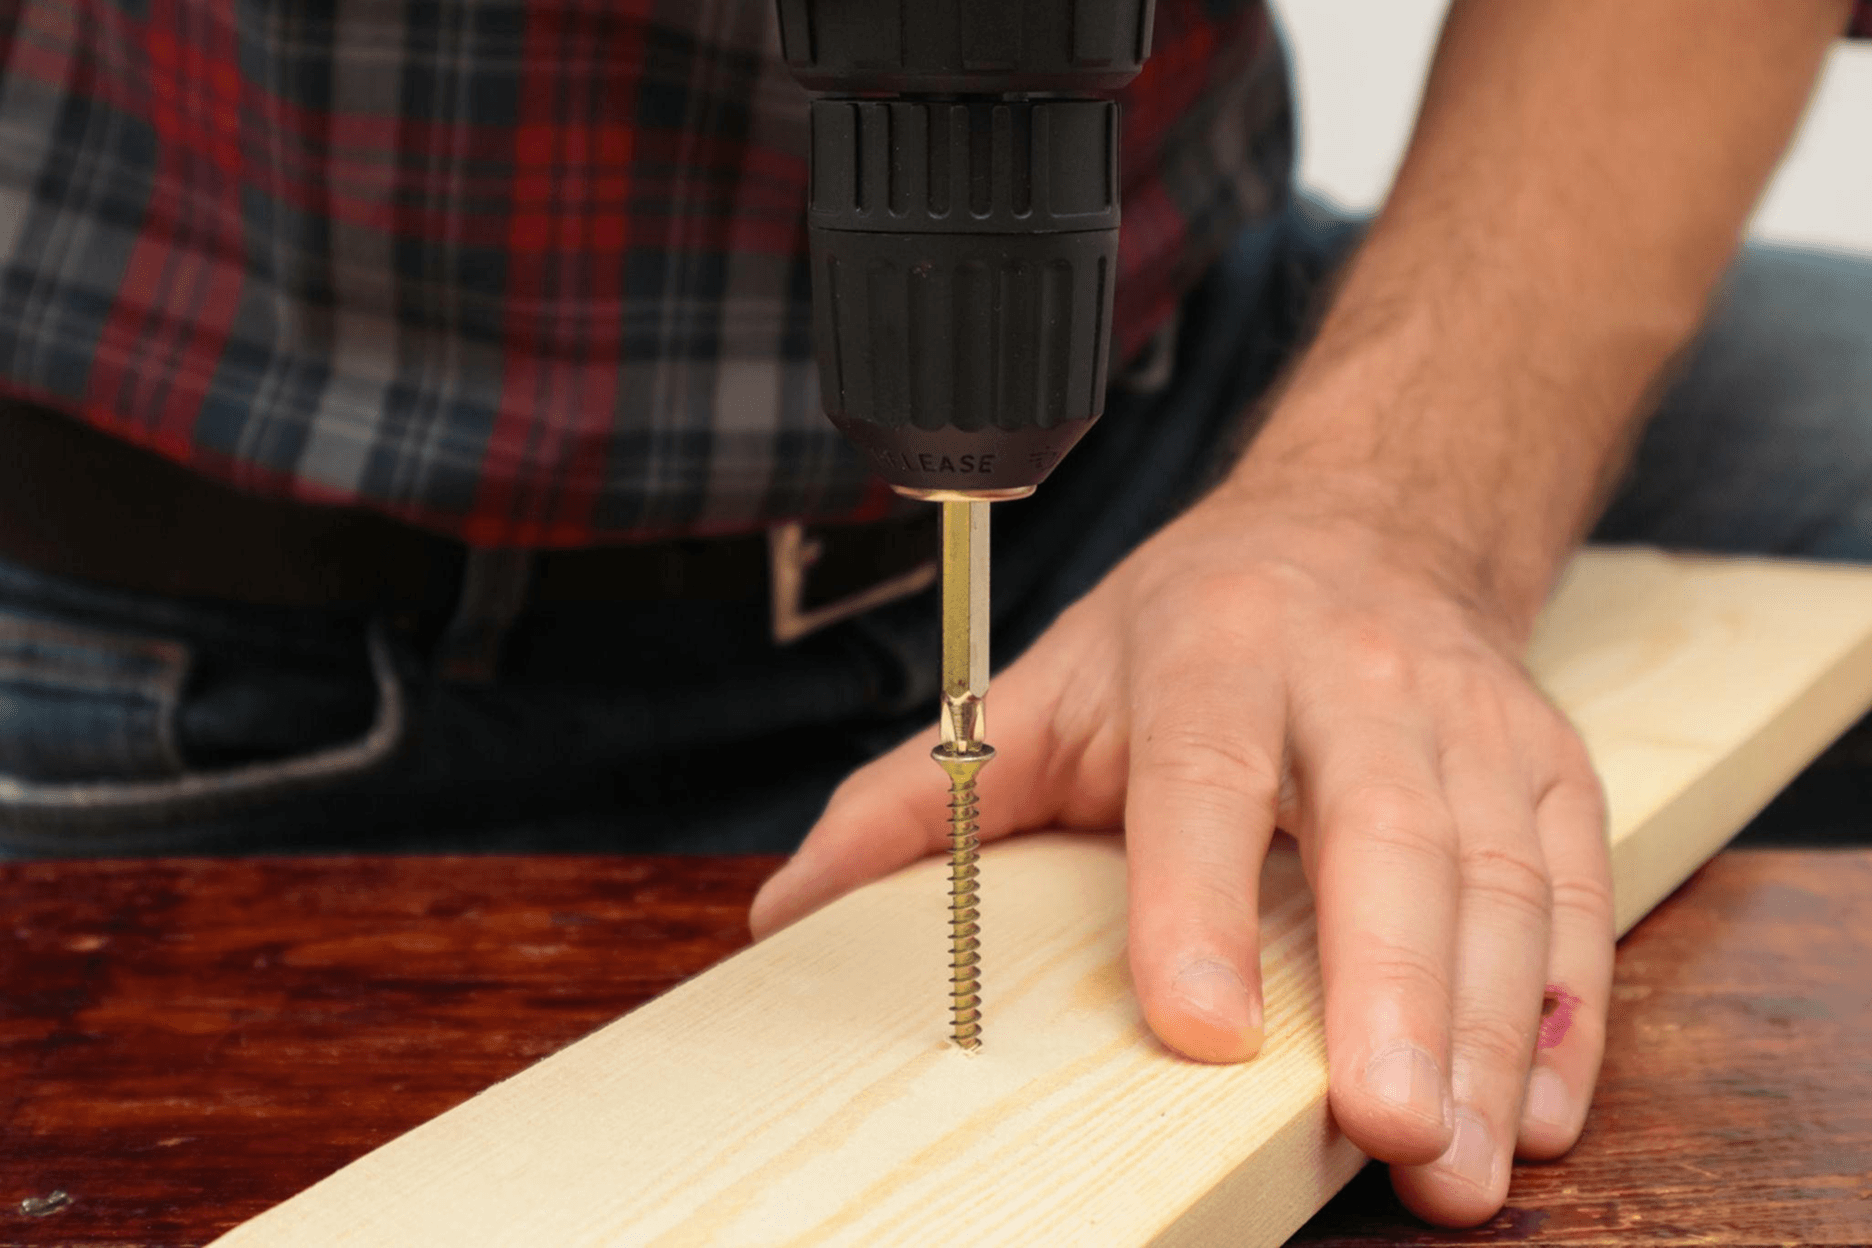
Using a suitable screwdriver or drill bit is essential for a clean installation. The driver should match the screw head closely, as an incorrect fit can cause slipping, damage the head or make the screw difficult to tighten. Keep the tool aligned with the screw and apply steady pressure as you begin driving it into the material.
When using a power drill, choose a suitable speed and maintain control throughout the process. Driving a screw too quickly or applying excessive force can strip the threads, damage the surrounding material or leave the screw sitting unevenly. Tighten it until it is properly seated and secure, without forcing it further than necessary. For applications involving specific load or safety requirements, follow the relevant installation instructions.
Check the Finished Joint
After installation, inspect the screw to ensure it is seated correctly and the joined materials remain aligned. Look for damaged screw heads, loose connections, cracks in the material or signs that the fastener has been overtightened. If a screw does not grip properly, investigate the cause rather than simply forcing it further into the surface.
Good installation practices are often simple, but they make a noticeable difference to the final result. Selecting the right screw, preparing the material and working with the correct tools can improve consistency, reduce rework and help create a fastening that performs as intended.